
Welcome to the insightful journey into the realm of wildlife photography editing! Capturing the raw beauty of nature is only the first step; transforming those shots into mesmerizing visuals is where the real magic happens.
This blog post is dedicated to guiding you through seven crucial steps to elevate your wildlife photographs from good to breathtaking.
Step 1 ─ Choosing the Right Image
The first step is selecting the right image. This decision is more than just picking a sharp, well-exposed photo.
It involves understanding the story you want to tell. Does the image capture a unique behavior or an emotion?
Does it portray the habitat in a way that complements your subject? A powerful wildlife photograph is one that speaks to the viewer and evokes a sense of wonder.
The Importance of Composition
Evaluate the composition. A great wildlife image should have a strong focal point. Look for elements that might distract from the subject and consider if cropping can improve the overall composition.
Remember, the rule of thirds is your friend, but don’t be afraid to break it if it means enhancing your story.
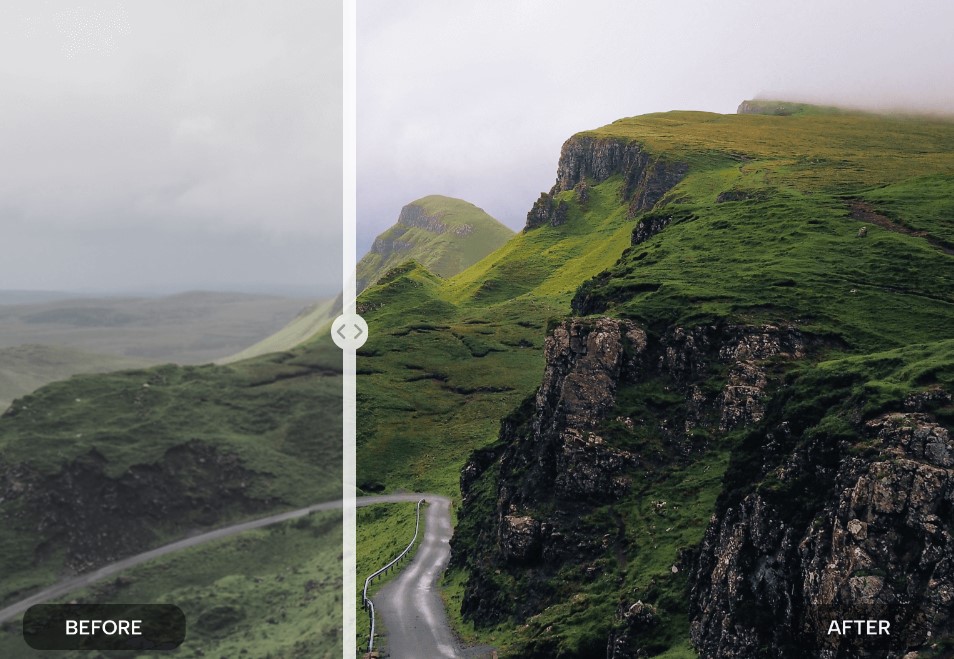
Step 2 ─ Correcting Exposure and Contrast
Editing starts with basic adjustments to exposure. Wildlife photos often suffer from underexposure or overexposure due to challenging lighting conditions in the wild.
Use editing tool to adjust the brightness and shadows, ensuring that your subject is properly illuminated without losing detail.
Adjusting Contrast
Contrast is key in making your subject stand out. Adjusting contrast helps in defining the textures and layers in the image.
However, it’s crucial to maintain a natural look – too much contrast can make your image look unnatural and overly processed.
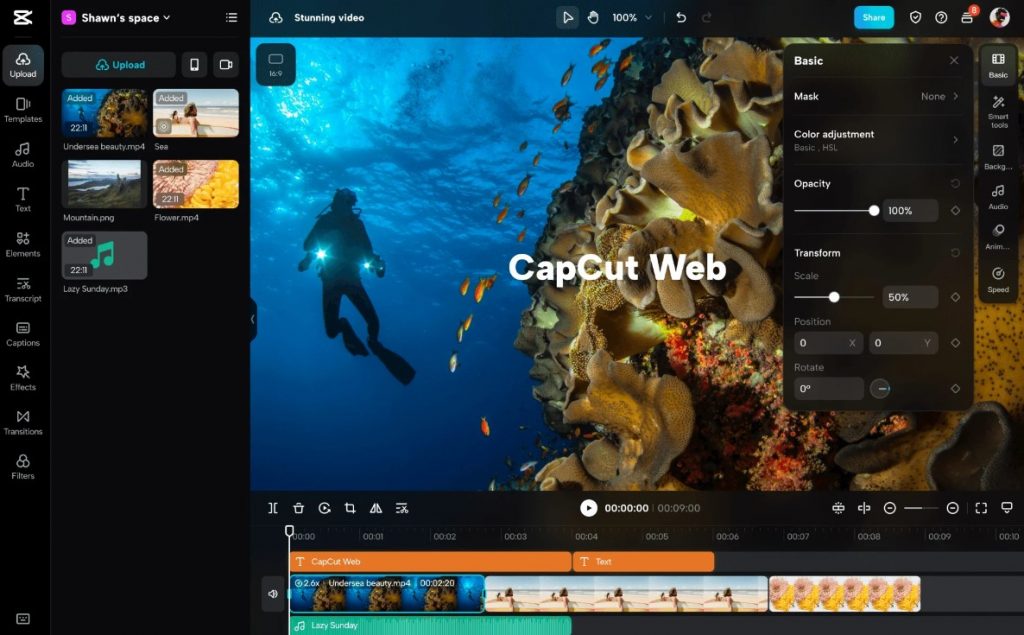
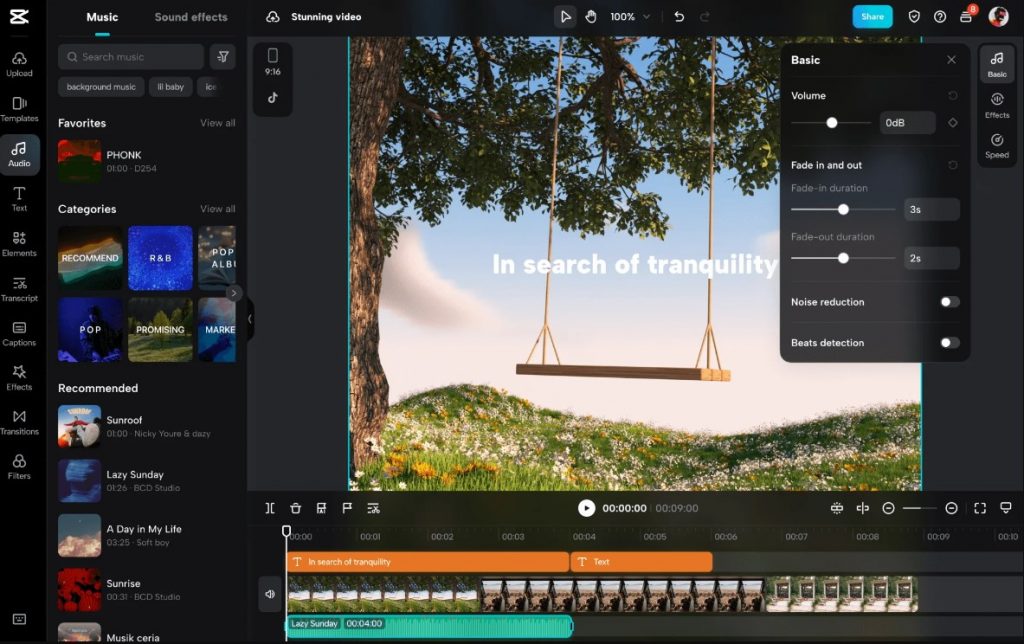
Try using an online tool like CapCut creative suite that will significantly ease this process.
For those who don’t know, CapCut offers an innovative, AI-powered tools for editing, all free. This suite is a powerhouse, equipped with numerous watermark-free photo and video templates that are versatile and easy to use for different projects.
Users have access to a range of editing functions like trimming, resizing, cutting and splitting. The addition of multi-track editing broadens the scope of what can be achieved.
Removing backgrounds becomes a breeze with the integrated tools. To amplify the content, there is a selection of trendy, royalty-free music and sound effects. The cherry on top is the dynamic AI auto-captioning, which enhances the accessibility and appeal of your content.
Gone are the days of navigating through multiple websites and the troublesome process of importing and exporting files. CapCut’s website also sports a wide range of editing tools, including a specialized Youtube video editor, which meets plenty of branding and creative needs.
Step 3 ─ Color Correction and White Balance
Color correction plays a pivotal role in wildlife photography. It’s essential to render the colors as true to life as possible, especially the natural tones of the animal and its environment. Adjust the saturation and vibrance carefully to enhance the colors without making them look artificial.
Setting the Right White Balance
White balance adjustment is crucial for maintaining the realism of the image. Incorrect white balance can cast unnatural color tones over your subject and its surroundings. Aim for a balance that reflects the actual lighting conditions when the photo was taken.
Step 4 ─ Sharpening and Clarity
Sharpening is a delicate process. It brings out the details, especially in the fur or feathers of animals, making them appear more defined. However, over-sharpening can introduce unwanted noise and artifacts. Apply sharpening judiciously to maintain the natural texture.
Clarity for Depth
Clarity adjustment can help in bringing out the finer details and add depth to the image. It enhances mid-tone contrasts, making the subject pop out more. But just like sharpening, excessive clarity can make the photo look unrealistic.
Step 5 ─ Noise Reduction
Wildlife photography often requires shooting in low light conditions, leading to high ISO settings and consequently, noise. Noise reduction tools can help clean up the image. The key is to strike a balance – removing noise while retaining as much detail as possible.
Preserving Natural Textures
While reducing noise, be careful not to smoothen out the natural textures of the animal’s skin, fur, or feathers. A subtle approach is always better, ensuring the photo retains its natural feel.
Step 6 ─ Cropping and Framing
Cropping is a powerful tool in composition. It can be used to remove distractions, change the aspect ratio, or simply bring the viewer closer to the subject. The goal is to enhance the photo’s storytelling power without compromising the image quality.
Mindful Framing
When cropping, be mindful of the space around your subject. Wildlife photos often benefit from some surrounding context, giving a sense of the environment in which the animal lives. However, eliminate any elements that don’t add to the narrative of your image.
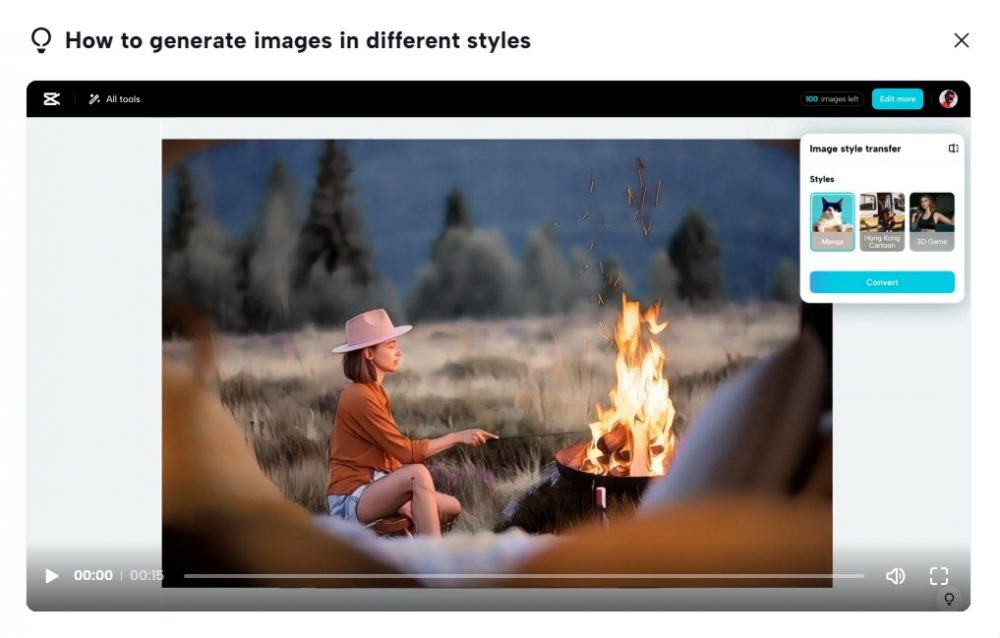
Step 7 ─ Final Touches and Creative Adjustments
The final touches are where you can get creative. This might involve adjusting specific colors to bring out seasonal changes in the habitat or applying subtle vignettes to focus attention on the subject. This is your chance to imprint your artistic vision on the image.
Telling a Story
Remember, each adjustment should serve the story you’re trying to tell. Whether it’s highlighting the stark beauty of a winter landscape or the vibrant colors of a bird’s plumage, your edits should enhance, not overpower, the natural beauty of your subject.
Step 8 ─ Consistency in Style
Developing a consistent editing style can help in establishing your unique voice as a wildlife photographer. Whether it’s the way you handle colors, contrast, or composition, a distinctive style makes your work recognizable and helps in building your brand.
Adaptability
However, flexibility is key. Different subjects and environments might require different approaches. Be adaptable in your editing while maintaining elements that give your work a consistent feel.
Step 9 ─ Grasp the Mood and Atmosphere
Editing should also focus on capturing the mood and atmosphere of the scene. This involves understanding the emotional tone of the image – is it serene, dramatic, tense? Your edits should amplify these elements, creating a more immersive experience for the viewer.
Using Light and Color
Manipulating light and color can significantly impact the mood. For instance, warmer tones can convey a sense of comfort or nostalgia, while cooler tones might evoke feelings of solitude or tranquility.
Step 10 ─ The Final Presentation

The final step is presenting your work. Choose the right format for your images, whether it’s for print, a digital portfolio, or social media. Different platforms might require different aspect ratios or resolutions.
Storytelling Through Series
Consider presenting your images as part of a series. A well-curated collection can tell a more comprehensive story about a species or habitat, offering a deeper insight into the natural world.
FAQs
How can I ensure my wildlife photos look natural after editing?
Achieving a natural look involves subtle adjustments. Avoid over-saturating colors, and over-sharpening details, and keep changes to exposure and contrast minimal.
Your aim should be to enhance, not drastically alter, the original image.
What is the most common mistake in wildlife photo editing?
One common mistake is over-editing, which can make the image look unrealistic. This includes excessive sharpening, saturation, or noise reduction. Keeping edits moderate and balanced is key.
Can I use filters for wildlife photography editing?
While filters can be used, they should be applied cautiously. Heavy filter usage can detract from the natural beauty and authenticity of wildlife images.
If used, opt for subtle filters that enhance rather than transform the photo.
Is it necessary to edit all wildlife photos?
Not necessarily. Sometimes, a photo captures the moment perfectly with no need for further enhancement.
Editing should be used to improve an image or convey a particular mood or story, not as a compulsory step.
How important is the background in wildlife photography editing?
The background is crucial as it sets the context for the subject. Editing should aim to reduce distractions while enhancing elements that complement the wildlife subject, such as natural habitat details.
What online editing tool is recommended for beginners in wildlife photo editing?
Capcut’s online tools are a great starting point for beginners due to its user-friendly interface and comprehensive set of tools for basic to advanced editing.
Final Words
Mastering wildlife photo editing is a blend of artistry, patience, and a profound connection with nature.
These seven steps are your pathway to turning simple snapshots into vivid narratives that showcase wildlife’s splendor and variety.
Always aim to honor the true spirit of the wilderness, letting your creativity breathe life into each image.