Glock pistols are among the most dependable semi-automatic handguns on the market right now!
You can find instructions for maintaining a Glock pistol in this manual. We’ll go over the tools you need, how to properly disassemble it, clean and lubricate it, and reassemble it. Along the way, I’ll also offer a few pointers to make sure your cleaning session is both thorough and secure.
However, even the most dependable weapons (check for licensed gun dealers in ArmsDirectory) will eventually develop problems if you neglect to clean and maintain them.
Effective Glock Cleaning Tips
Source: usacarry.com
A clean Glock simply performs better than a dirty one which also helps to avoid Glock malfunctions at the time of any emergency.
To clean your Glock effectively, you should set up a proper workspace. That is, an area in which all live ammunition has been removed, there is plenty of light and ventilation, and essential gun cleaning supplies, such as:
- A rod for cleaning
- Patches for cleaning
- Cleaning agent
- Oil for lubrication
- Sanitized rags (white)
- Personal toothbrush
- Copper bore brush of appropriate caliber
- Sunglasses for safety
- Gloves made of latex
1. Unload Your Glock
When handling firearms, gun safety should always come first. This is true even when cleaning a Glock. You frequently hear tales of unintentional discharges caused by people starting to clean their Glocks without first unloading them.
Be not that person. Unloading any firearm is the first step in cleaning it. To empty a Glock, you must:
- Aim the muzzle in a secure area.
- Take the gun’s magazine out.
- Lock the slide’s back position by pulling it back.
- Examine the chamber physically and visually.
- Remove any cartridges that may be in the chamber right away.
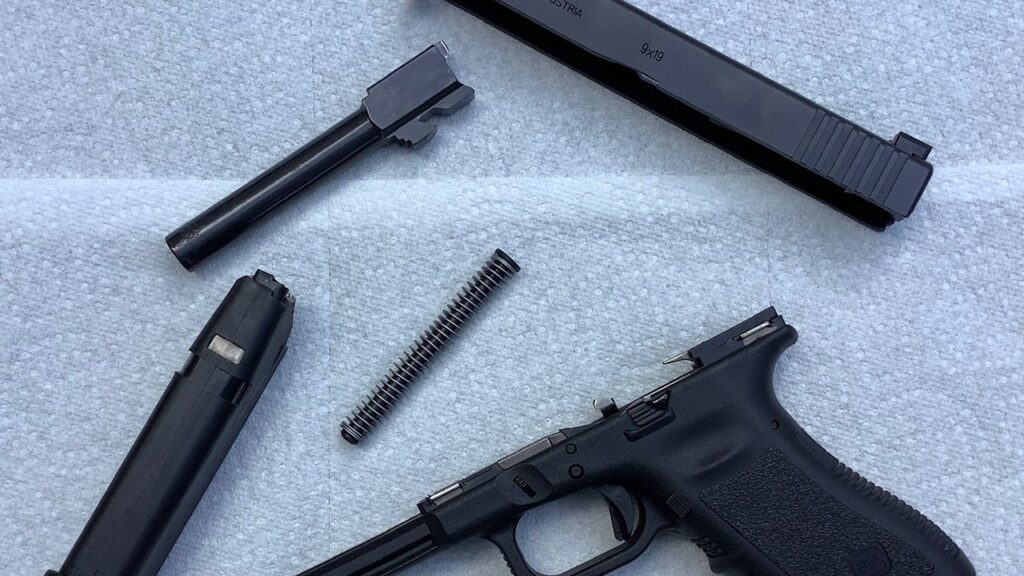
2. Disassemble Your Glock
Source: police1.com
Field strip your Glock after removing the magazine and clearing the chamber. A Glock pistol is very simple to field strip compared to many other handgun designs. The main divisions are the slide, recoil spring assembly, barrel, and frame. Field stripping a Glock entails:
- Check that the chamber is clear, then lead the slide back home.
- Pull the trigger while maintaining the empty pistol’s safe direction.
- Pull the slide back about a 1/4 inch and hold it with one hand.
- Grab the frame’s takedown levers with your other hand and pull them down.
- Slide forward while maintaining pressure on the takedown levers.
- Put the frame down after guiding the slide off of it.
- The recoil spring assembly can be removed by flipping the slide over.
- Finally, take the barrel out of the slide which should move with little to no effort.
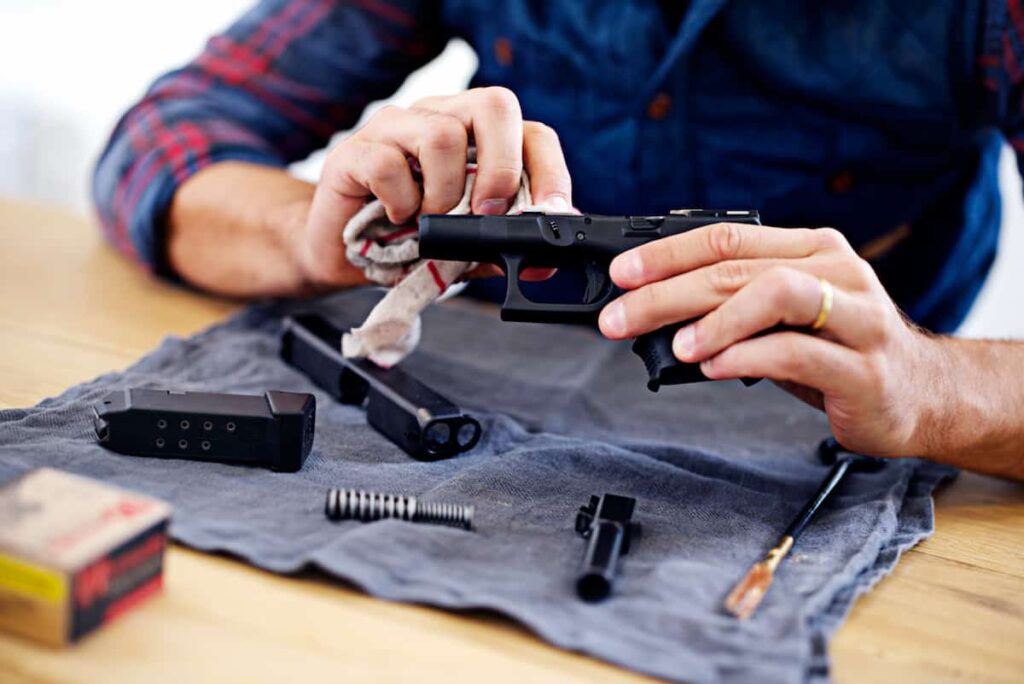
3. Clean The Frame Assembly With A Brush
You hold and operate your Glock using the polymer frame. Use the toothbrush to remove any dirt or carbon buildup from the frame assembly’s internal metal parts. The front of the frame’s metal rails, locking block, trigger bar, housing for the trigger mechanism, and dust cover area are all included in this.
After that, use a clean patch and a quarter-sized amount of cleaning solvent to wipe all the areas you scrubbed with the toothbrush. As many times as necessary, repeat this step. When the cleaning patch picks up little to no dirt, you’ve finished.
4. Clean The Back Slide Plates
Source: 3gun.pl
Keep the Glock magazine base plates clean because that’s where most of the action takes place. The slide, recoil spring assembly, and barrel are the three main components of the slide assembly.
Cleaning Up The Slide
- Use the toothbrush to scrub the slide’s interior, paying attention to areas where carbon or dirt has accumulated.
- Utilizing a fresh patch, thoroughly wipe the slide’s interior after applying a cleaning solvent.
- Until little to no gunk remains on a clean cleaning patch, repeat these steps.
Tidying Up The Barrel
Using a patch that has been dabbed with cleaning solvent, thread your rod through the barrel, starting from the chamber side. Punch the rod through the barrel all the way, switching out the patch every few punches, until little to no gunk is visible on the patch.
Shine a light through the barrel to inspect it; if you see particles stuck inside, or “fouling,” move on to the next step.
Recoil Spring Assembly Cleaning
The guide rod and spring make up the recoil spring assembly. On a factory Glock, you won’t be able to separate them, though. It can be easily cleaned. Simply use a fresh patch and a small amount of cleaning agent to lightly wipe down the recoil spring assembly.
5. Keep Your Glock Lubricated
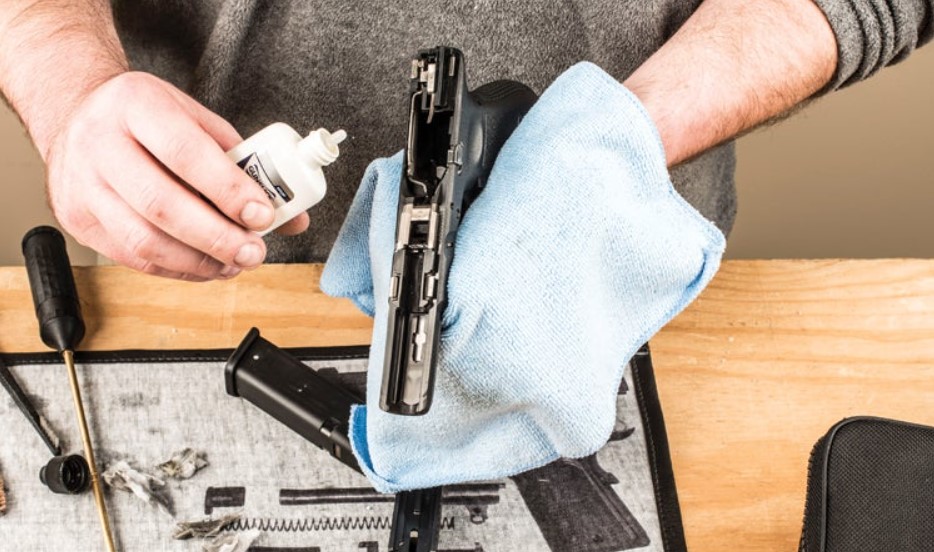
Source: usconcealedcarry.com
Sparingly lubricate your Glock. Too much lube causes the gun to gum up more quickly. Applying a single drop of lubricant to the component you want to lubricate and rubbing it in with your fingers works best. Add another drop of oil if necessary. But once more, use it sparingly.
Keeping The Frame Assembly Lubricated
Lubricate the trigger housing, where the trigger rubs against the trigger bar, and the four metal integrated rails on the frame assembly (depicted in the image). Keep your trigger pull smooth by using lubricant.
Using Grease On The Slide Assembly
It’s critical to apply a thin layer of lube on the interior because the slide performs the majority of the moving. Repeat this process, adding a drop at a time, and spread the mixture with your finger. Finally, apply a light coat to the barrel’s exterior. DO NOT oil the barrel’s interior.
6. Reassemble Your Glock
It’s time to put your Glock back together after it has been cleaned and lubricated. Even simpler than disassembling a Glock pistol is putting it back together.
- Beginning with the slide place the slide on its side and insert the barrel so that the recoil lug is facing up and away from the slide’s muzzle.
- Then, wedge the fat end of the recoil spring assembly between the slide and the barrel recoil lug in the proper location above the barrel.
- The slide should be placed on the frame. Pull the slide back before letting it ride forward after positioning the slide assembly on the frame’s first two rails. Nothing ought to come off.
- Check the function. Pull the trigger while holding it, rack the slide back, release the trigger, and point the gun in a safe direction. Reset the trigger, please.
7. Clean Up
If any extra oil has leaked out despite your best efforts to keep your Glock clean and maintained, remove it with a clean cloth. Examine the trigger and the areas where the slide and the frame meet.
Rack the slide a few times to move the parts around and push out extra oil so you can do the best job possible. When you’re finished, dispose of other trash and, because the dirty rags are now flammable, throw them away.
Wrapping Up
Congratulations—you are now free of your dirty Glock. Everyone should participate in weapon maintenance because it is an important aspect of owning a firearm. It doesn’t always have to be a tedious process, though sometimes it can seem that way.
You should never miss an opportunity to learn something new about your firearm when cleaning it. You’ll comprehend how your weapon works better the more cleaning repetitions you have.
We appreciate you reading about how to clean a dirty Glock. We’d love to hear from you in the comments section if there’s anything we missed or any advice you have to share.