If you work in a field that requires monitoring outdoor air quality, you’re likely familiar with the importance of an atmospheric visibility sensor. But did you know there’s more to using this piece of equipment than simply turning it on and off?
Atmospheric visibility sensors measure the distance traveled by light, or light extinction, which is caused by airborne particles in the air. The thicker or more polluted the air, the less visible it will be. They collect information on optical properties such as scattering coefficients and attenuation factors in order to calculate environmental parameters such as aerosol concentrations and columnar concentrations over a given area or region.
They consist of two main parts: an optical component, which consists of various lenses, mirrors, etc., that collect light from a source; and an electronic component that processes this information using mathematical equations using an algorithm known as signal processing techniques in order to calculate various environmental parameters.
Types of Atmospheric Visibility Sensors
The three main types of sensors are transmissometers, nephelometers, and multiwavelength optical scattering radiometers (MSORS).
Transmissometers measure how much light is transmitted through the atmosphere at a constant wavelength, generally between 470nm-580nm in the visible spectrum. They also maintain accuracy in situations where shadows or high levels of fog can significantly reduce air transparency.
Nephelometers measure total environmental turbidity at visible wavelengths between 400-700 nm. These devices use an extinction technique to determine sensor readings – they emit their own light source at the central wavelength of 600 nm which then goes through the atmosphere and is then absorbed or scattered by suspended particles in the air such as dust, smoke, haze, and other aerosols. By measuring particle concentration results at 600 nm, nephelometers provide an indication of air clarity or turbidity on a scale from 0 (clear) to 50 (opaque).
Multiwavelength Optical Scattering Radiometers (MSOR) use multiple laser sources around one bandwidth for accurate measurements across various angles for effective measurements regardless of the conditions present in the environment. MSORs offer real-time results that allow users to adjust depending on changes such as lighting levels and wind speed. MSORs can provide readings up to 25km away from their location with an accuracy range of around 65 ft/sec2 error rate making them suitable for long-range monitoring applications such as traffic congestion warnings during severe weather conditions like fog or rain storms warning systems.
How to Properly Use an Atmospheric Visibility Sensor
Source: vaisala.com
To ensure accurate readings from an atmospheric visibility sensor, it is necessary to test, validate and calibrate the instrument prior to use in order to detect any errors or issues with parts or pieces of equipment that may affect readings taken during deployment. Furthermore, following established procedures for installation, operation, and maintenance will help ensure accurate readings each time a measurement is taken as well as extend its lifespan over time.
When establishing field sites for deployment of an atmospheric visibility sensor, care should be taken in selecting locations that are away from sources of pollution such as air conditioners, factories, or other motorized vehicles near enough that they could interfere with accuracy during data collection.
Additionally, potential sources of disturbance such as animals, boats, or helicopters should also be avoided if possible. Following these practices will help protect data integrity each time it’s used.
Proper Installation
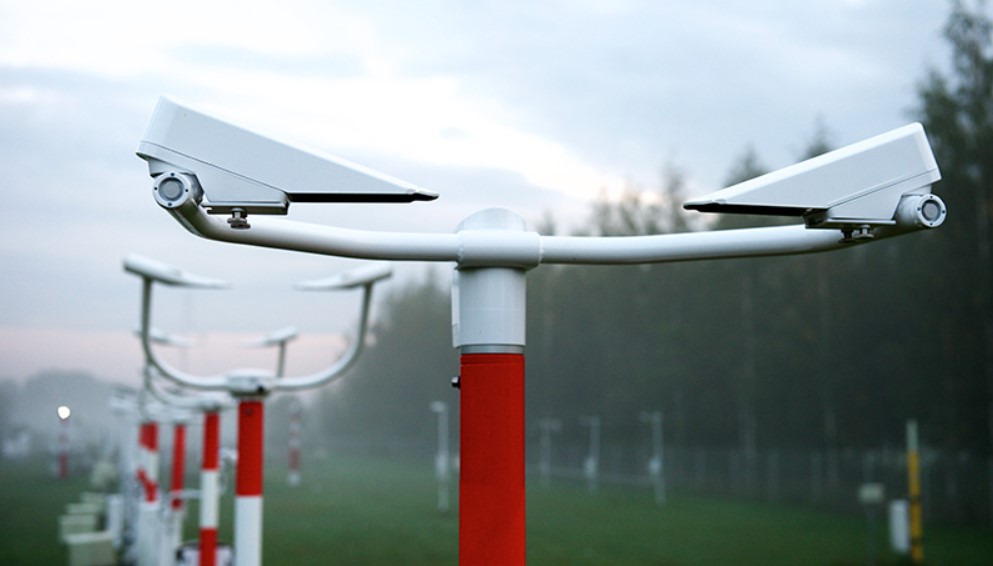
In order to accurately measure atmospheric visibility, it is wise to install an Atmospheric Visibility Sensor (AVS). Installing an AVS is a straightforward task that does not require any special tools or background knowledge. Before beginning, you will need to secure the location for your AVS in order to ensure proper operation and optimal results.
When selecting a location, the ideal spot will be in a place where there are minimal potential pollutants that could interfere with measurements and no foliage growing nearby. This could be next to a chimney or at the top of a roof away from plants or animal activity. Make sure your AVS has plenty of space around it so that airflow can go unimpeded into the device.
Once you have selected a suitable location, take some time to collect all of the necessary components for setup. Your sensor should comprise mounting hardware, sunscreen screens if applicable, cable ties, and cables for power supply and data transmission. Other optional accessories may include tripods for ceiling mounting and connecting threads for wall mounting among others. Depending on where you purchased your AVS, these accessories may be included in the package or available separately as add-ons.
Finally, once all items are ready, begin installing your Atmospheric Visibility Sensor using all components mentioned above according to the manufacturer’s instructions carefully and precisely following each step involved in the process until the completion of installation.
Source: mdpi.com
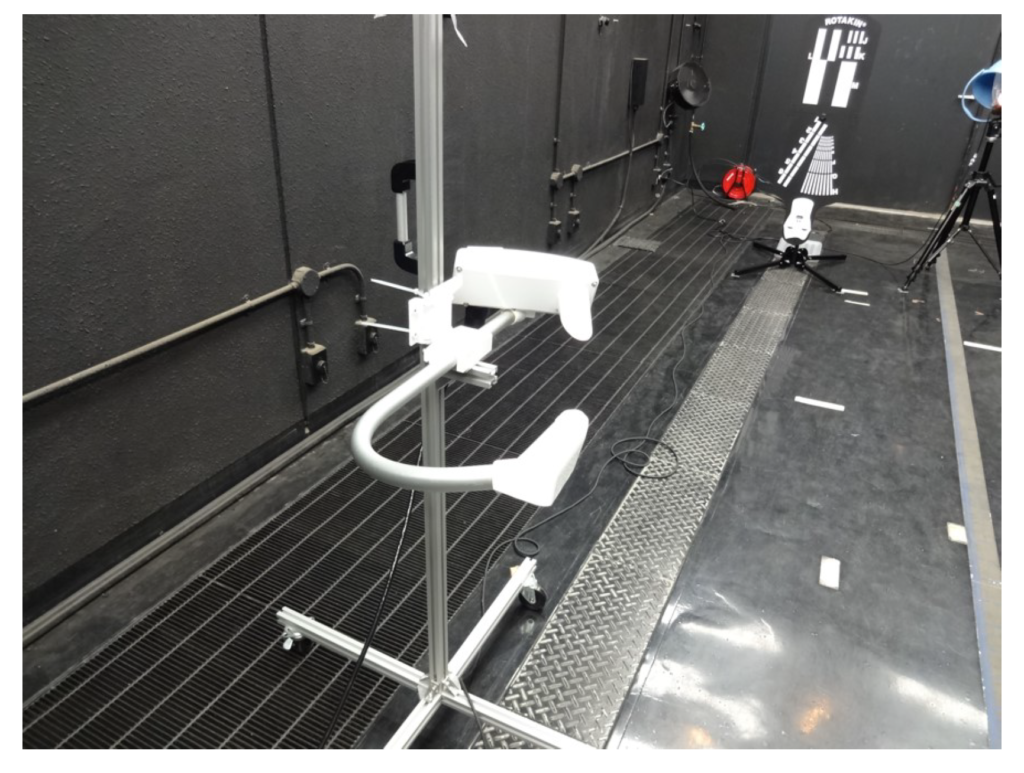
Calibration
To set the correct parameters, start by placing the device in a location with a known particle concentration and allow it to adjust for 10 minutes. After calibration, standardization should be performed every 8 hours and validation experiments should be conducted daily in order to ensure accurate readings.
Calibration involves two distinct steps ─ Zero Point Calibration and Span Point Calibration. During Zero Point Calibration, an empty filter paper is installed into the sensor; after which, the instrument’s zero point is set using a check air source or manual adjustment. Unlike other calibrations, no plotted points are required to complete this process. In contrast, Span Point Calibration requires plotting points against known concentrations of aerosols on a log scale in order to determine how much your visibility sensor measures the aerosol concentration level in ambient air.
After calibration has been completed and verified, validate your instruments by verifying that all your standardization runs within an acceptable range. Additionally, measure daily accuracy through comparison with certified measurement devices or reference sites located close by like National Oceanic and Atmospheric Association (NOAA) stations during certain periods of time if they are available.
Conclusion
Knowing how to properly use the different components of this instrument is essential to accurately measure visibility. It is important to remember that because light transmission varies based on numerous factors, such as weather conditions and terrain, you should always calibrate your visibility sensor regularly. Additionally, making minor adjustments can help you get more accurate results. Taking the time to learn how to properly use your atmospheric visibility sensor will ensure that you get more accurate results and better insights into your environment’s visibility.